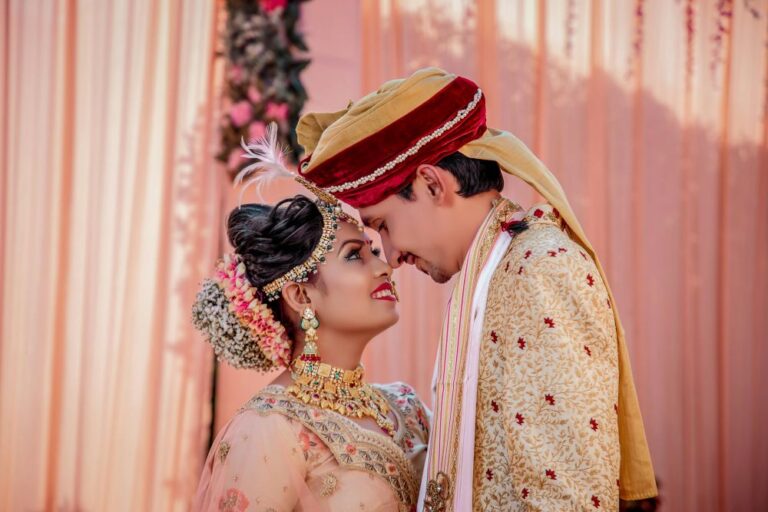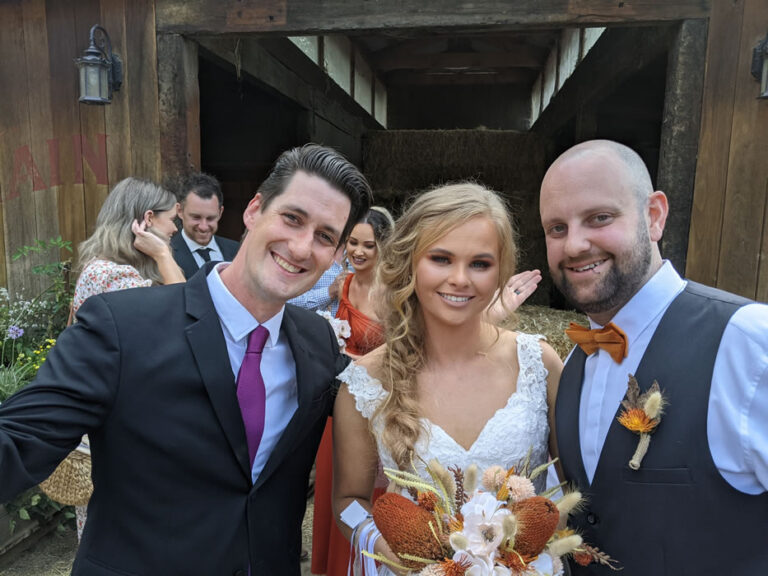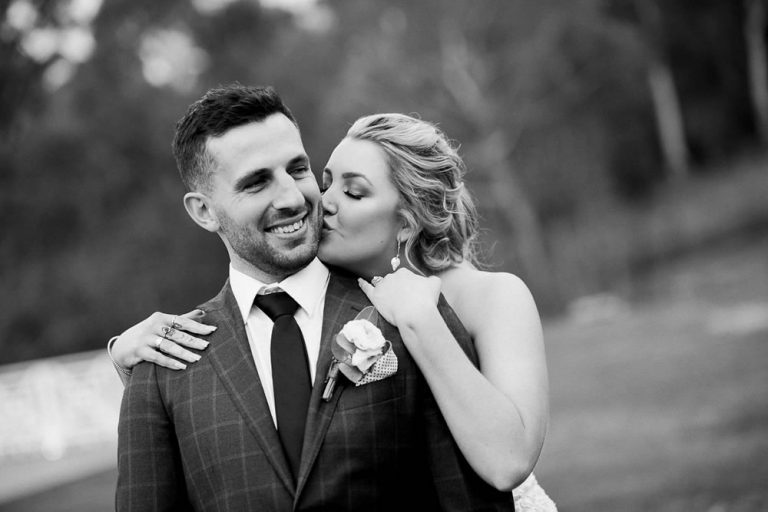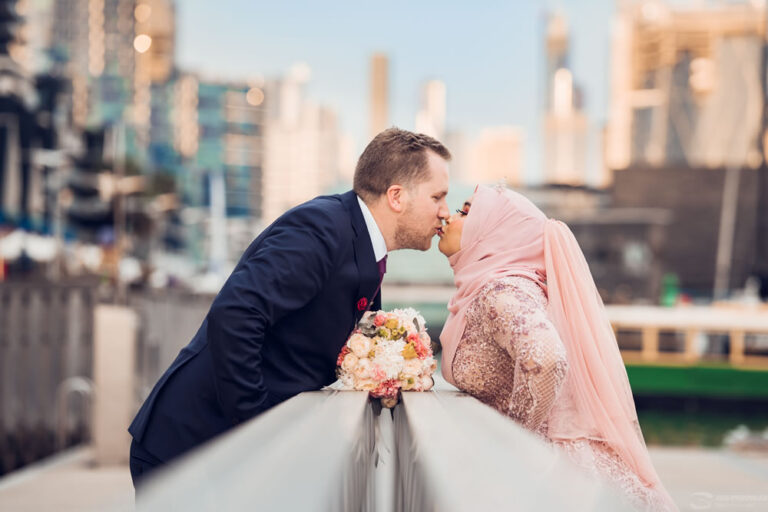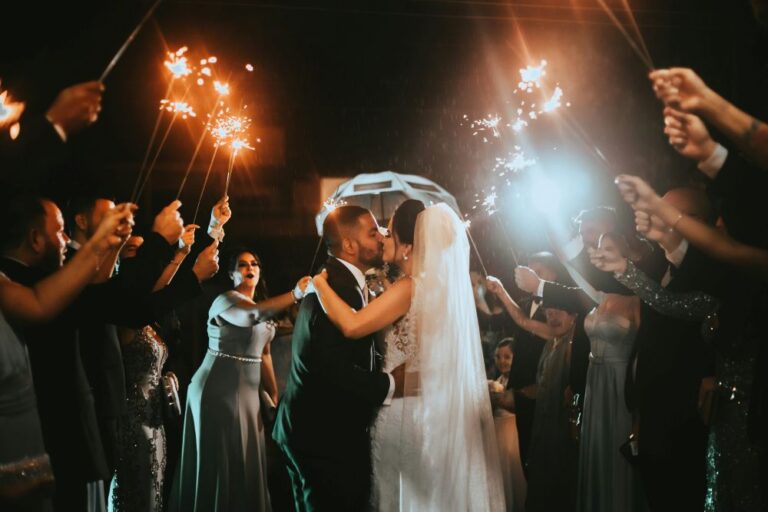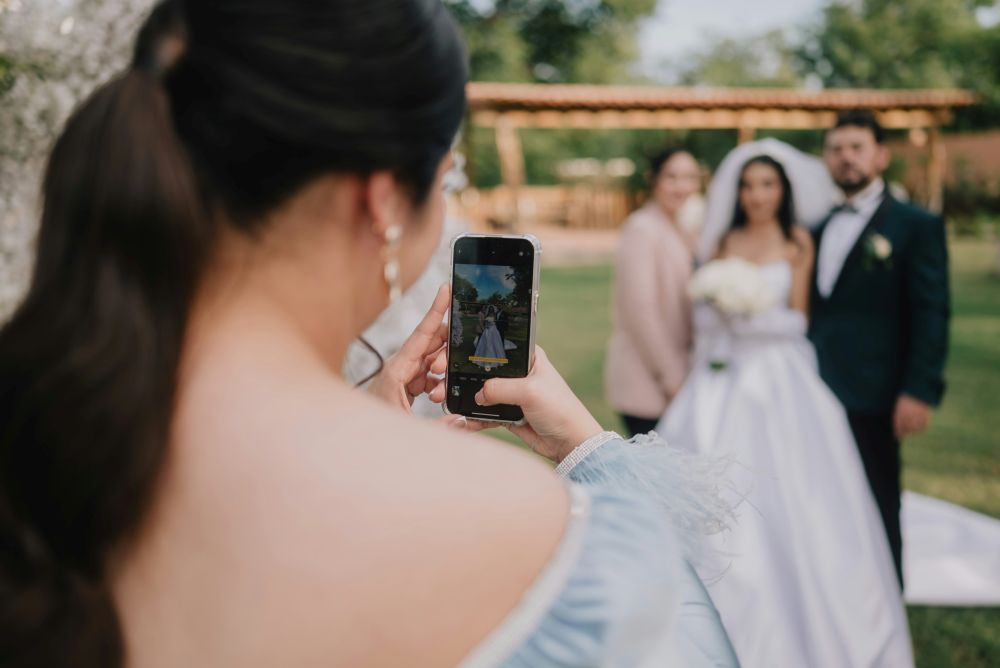

Okay, let’s talk about the thing nobody tells you until the week after your wedding: you’re going to want those photos. All of them. Not just the ones your photographer captures — the blurry, beautiful, slightly chaotic ones from your guests’ phones. The happy tears moment someone caught during the vows. The golden magic someone grabbed outside at a Yarra Valley estate. The group pile-on at the end of the night.
Here’s the thing, babe: those photos exist. They’re sitting on phones all across Victoria. And without a plan, they’ll stay there forever, or end up buried in a group chat you’ll never find again.
This post is your plan. And it costs exactly nothing.
Step 1: Set Up Your Google Photos “Request Photos” Link
This is the magic bit. Google Photos has a feature most people don’t know exists, and it’s the whole reason this method works without your guests needing to log in or download anything.
Here’s how to set it up:
- Go to Google Photos (photos.google.com) and sign into your Google account, or create a free one if you don’t have one.
- Click “Albums” in the left menu, then hit “Create album.” Give it a name like “Sarah & Tom’s Wedding 💍”
- Open your new album and look for the share icon (the little arrow pointing up/right).
- Select “Request photos.” This is KEY — not “Share album”, not “Copy link.” Request photos. This generates a special link that allows anyone to upload without a Google account.
- Copy the special link Google generates. Keep it somewhere safe, you’ll need it in the next step.
That’s it. You now have a free, unlimited photo collection link.
Step 2: Turn That Link into a QR Code (Free, in Canva)
Your guests aren’t going to type a URL. But they will scan a QR code, especially if it looks gorgeous on a beautifully designed table card.
Canva (free version) is perfect for this:
- Go to canva.com and sign up for a free account.
- Search for a template — “table card,” “wedding sign,” or “A5 flyer” all work well as starting points.
- Add a QR code element. In the left panel, click “Apps” then search “QR code.” Paste in your Google Photos “Request photos” link.
- Design your card. Keep it simple: your names, the date, and a short instruction like “Scan to share your photos with us 📸”. Match your wedding colour palette.
- Download as a high-res PDF or PNG and send to your local print shop, or print at home.
Before you hit print: Scan your QR code with both an iPhone and an Android if you can. Go all the way through the upload flow, don’t just check that it opens. Make sure a test photo actually lands in your album. Takes two minutes and saves a lot of heartache on the day.
Pro tip: Print multiple sizes — a small table card (A6) for each table, plus a larger A4 sign for the ceremony entry and near the bar. The more visible, the more photos you’ll collect.
Step 3: Let Your Guests Know
Even the best QR code won’t work if guests don’t notice it. Here’s how to get maximum participation:
- Mention it in your wedding program or order of service
- Ask your MC to announce it — “Before we get into the formalities, scan that QR code on your table and share your photos throughout the night”
- Add a note to your wedding website if you have one
- Include a reminder in your table centrepiece or menu card
🎉 Want to Make It Even More Fun? Add a Photo Game
If you want to give guests a reason to get creative with their cameras, here are two brilliant add-ons. Pick one, or use both for different tables.
Option A: Wedding Photo Bingo
Perfect for: mixed-age groups, guests who need a little nudge to get involved, and anyone who loves a bit of friendly competition.
How it works: Each table gets a bingo card with 16–25 photo prompts. First to complete a row wins a little prize (chocolates on the table work a treat). All photos get uploaded via your QR code.
Bingo card ideas:
- The couple’s first dance
- Someone crying happy tears
- A three-generation family photo
- The wedding cake
- Someone on the dance floor absolutely going for it
- A candid laugh
- The bridal party
- A sneaky selfie with the couple
- The bar queue
- Shoes off moment
How to make it free in Canva:
- Search “bingo card” in Canva templates.
- Customise the squares with your prompts, match your wedding colours and add your names at the top.
- Print one per table (or one per guest if you want maximum chaos).
Option B: Wedding Photo Scavenger Hunt
Perfect for: younger crowds, groups that love a challenge, and weddings with a relaxed, fun vibe.
How it works: Guests get a list of shots to find and capture throughout the day. They upload everything to your QR code album. Review them the next day with a coffee, or project the album at the end of the night.
Scavenger hunt shot list ideas:
- A photo that tells a love story (any love story)
- Something old, something new, something borrowed, something blue
- A photo with every member of the wedding party
- The most creative use of the photo booth props
- A group shot of your whole table
- The most beautiful detail at the venue
- A photo that captures the vibe of the night
- Best action shot on the dance floor
- Something that made you laugh out loud
- A photo the couple will want to frame
How to create the card in Canva:
- Use a simple A5 or A6 card template.
- Title it “Your Mission (Should You Choose to Accept It)” — or something equally cheeky.
- Add your QR code at the bottom so guests can upload directly from the card itself.
Quick Recap: Your Free Wedding Photo System
- Google Photos “Request photos” link — free, no login required for guests
- Canva — free QR code + table card or sign design
- Optional: Photo Bingo card (Canva, free to design and print)
- Optional: Photo Scavenger Hunt list (Canva, free to design and print)
- Total cost: $0 (plus printing, if you don’t print at home)
A Note on Storage
Google gives every account 15 GB of free storage. For a typical wedding, 100 guests uploading 10–20 photos each, you’re looking at roughly 2–4 GB. You’ll be absolutely fine. If you want extra breathing room, Google One storage upgrades start at a few dollars a month and you can cancel after the honeymoon.
Final Thoughts
Whether you’re celebrating in the Yarra Valley, saying I do on the Mornington Peninsula, or dancing in a Melbourne rooftop bar, your guests are going to capture some seriously stunning moments, and now you’ll have them all in one place.
This is one of those DIY wins that takes about 20 minutes to set up and pays off with hundreds of photos you’d never have had otherwise. Set it up, print your cards, brief your MC, and then go enjoy your wedding.
You deserve every single photo. 📸✨
Further Reading
- The Wedding VIC Insider: Dress Code – Control or Kindness?
- The Wedding VIC Insider: The Ceremony Timing & The Sun Factor
- The Wedding VIC Insider: The Bar Tab Battle
- The Wedding VIC Insider: The “Kids at Weddings” Conundrum
- The Wedding VIC Insider: The “Morning-Of” Mental Game
- The Wedding VIC Insider: The Plus-One Political Minefield
- The Wedding VIC Insider: The Unplugged Ceremony (Handling the DIY Paparazzi)
- The Wedding VIC Insider: Seating Chart Tetris & The “Difficult” Family Dynamics
- The Guest List Gut-Check: Is Your “B-List” Breaking the Budget?
- How Many Guests Should You Invite to Your Melbourne Wedding?
Next Step
Explore Vendors
Whether you’re planning a small, intimate gathering or a grand celebration, Wedding VIC has the perfect suppliers to help you create a truly memorable event in Melbourne and Victoria. So start browsing our directory today and find everything you need to make your special day unforgettable.